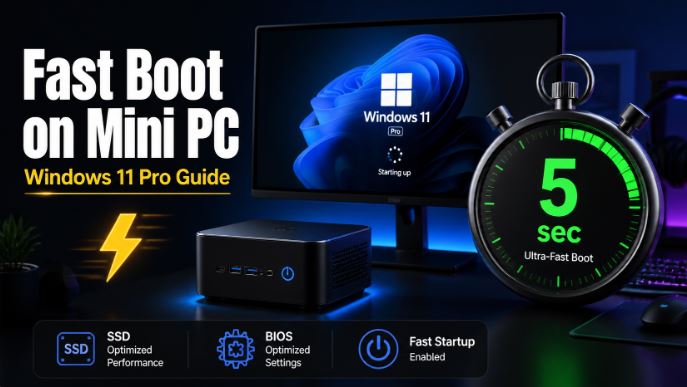
If you have a Mini PC with Windows 11, you have probably noticed at some point that the system is slower than expected.
These small, compact systems have limited hardware compared to a conventional desktop computer, so applying the right optimizations makes a huge difference.
In this guide we explain, step by step, how to get the most out of your Mini PC with Windows 11.
1. Update Windows 11 and Drivers
The first step before changing any settings is to ensure your system is fully updated. Microsoft releases regular updates that improve the stability and performance of Windows 11, especially on hardware with limited resources.
How to do it:
-
Go to Settings → Windows Update and click on Check for updates.
-
Also enable optional updates to get the latest drivers from the manufacturer.
-
Update your chipset, graphics, and Intel Management Engine drivers directly from your Mini PC manufacturer's website.
2. Change the Energy Plan to High Performance
Mini PCs typically come configured in balanced mode by default to save energy. However, if your computer is plugged into a power outlet, enabling the high-performance power plan unlocks the processor's full potential.
Follow these steps:
-
Look for "power plan" in the start menu.
-
Select "Choose a power plan" and check High performance or, failing that, Maximum performance from Settings → System → Power & battery.
3. Disable Startup Applications
One of the biggest problems with mini PCs that have limited RAM is the number of programs that run automatically when Windows starts. Disabling unnecessary programs significantly speeds up boot time.
Steps:
-
Open Task Manager with
Ctrl + Mayús + Esc. -
Go to the Startup Applications tab .
-
Select the programs you don't need at startup and click Disable.
4. Adjust the Visual Effects
Windows 11 includes animations and transparencies that consume CPU and GPU resources. On Mini PCs with integrated graphics, disabling them noticeably improves system performance.
You have two options:
Option A – From Accessibility:
-
Go to Settings → Accessibility → Visual effects.
-
Turn off Transparency Effects and Animation Effects.
Option B – From System Performance:
-
Open the execution box with
Win + Rand typesysdm.cpl. -
Go to Advanced Options → Settings (Performance).
-
Select Adjust for best performance.
5. Manage Background Applications
Applications running in the background silently consume RAM and CPU cycles, which can be critical on a Mini PC with 8GB of RAM or less.
To limit them:
-
Go to Settings → Applications.
-
Click on the three dots in each app and select Advanced options.
-
In "Background app permissions", choose Never.
6. Free Up Storage Space
An almost full SSD disk significantly slows down the system, as Windows needs free space for temporary files and virtual memory.
-
Use Disk Cleanup: press
Win + R, typecleanmgrand follow the instructions to remove obsolete temporary, update and registry files. -
Activate Storage Sensor from Settings → System → Storage to automate periodic cleaning.
7. Disable Taskbar Widgets
Windows 11 widgets constantly load information in the background (news, weather, stock market) and consume unnecessary resources on a Mini PC.
To deactivate them:
-
Right-click on the taskbar.
-
Select Taskbar settings.
-
Turn off the Widgets switch.
8. Activate Game Mode
If you use your Mini PC for gaming or running demanding applications, Windows 11's Game Mode prioritizes system resources for the active application, reducing interference from background processes.
-
Go to Settings → Games → Game Mode.
-
Activate it with the switch.
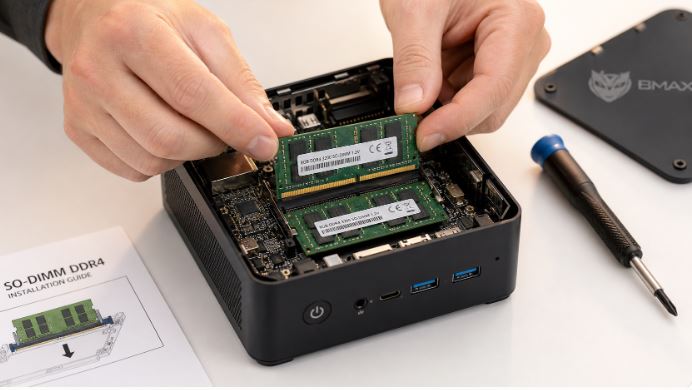
9. Check and Optimize Storage (SSD vs HDD)
If your Mini PC still uses an HDD, consider replacing it with an NVMe M.2 SSD. NVMe SSDs are up to 6 times faster than conventional HDDs, completely transforming your user experience.
If you already have an SSD, make sure that defragmentation/optimization is scheduled correctly:
-
Open the search engine and type
dfrgui. -
Select the disk and click Optimize.
⚠️ Note: On SSDs, Windows automatically performs the TRIM process instead of physical defragmentation. Manual defragmentation of an SSD is not necessary.
10. Consider Debloating (Removing Bloatware)
Windows 11 includes pre-installed applications that many users never use. Tools like Win11Debloat (available on GitHub) allow you to remove this software safely and automatically.
-
Download the script from github.com/Raphire/Win11Debloat.
-
Run it with administrator privileges and select the components you want to remove.
-
Always back up your system before making major changes.
Summary: Optimization Checklist
| Optimization | Impact on Performance | Difficulty |
|---|---|---|
| Update Windows and drivers | High | Very easy |
| Energy plan: High performance | High | Very easy |
| Disable startup apps | High | Easy |
| Disable visual effects | Half | Easy |
| Limit background apps | Half | Easy |
| Free up disk space | Half | Easy |
| Disable Widgets | Low-Medium | Very easy |
| Activate Game Mode | Half | Very easy |
| Upgrade to NVMe SSD | Very high | Requires hardware |
| Debloating with Win11Debloat | Medium-High | Moderate |