Is your Mini PC taking longer than expected to boot up?
Windows 11 Pro includes a feature called Fast Startup that can drastically reduce boot time.
In this guide we explain how to activate it correctly, how to optimize the startup process to the fullest, and what to do if the option does not appear on your system.
What is Fast Startup in Windows 11?
Fast Startup is a hybrid feature between traditional shutdown and hibernation. When you shut down your computer with this option enabled, Windows doesn't completely log off the system session. Instead, it saves the kernel state to disk (the hiberfil.sys file). When you turn the Mini PC back on, Windows loads this saved state instead of booting from scratch, significantly reducing startup time.
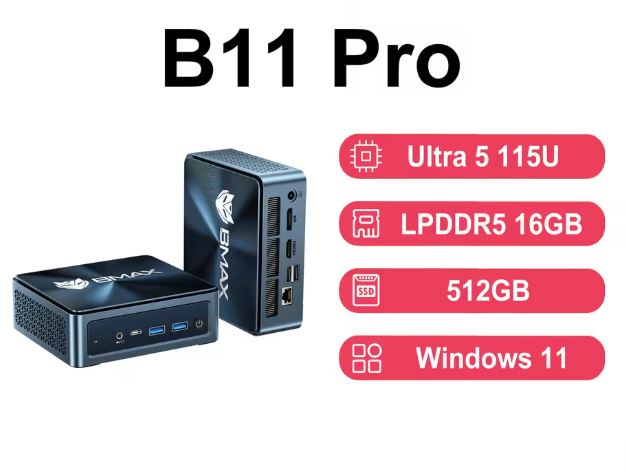
💡 On Mini PCs with NVMe SSDs (such as Intel N100, N150 or AMD Ryzen), fast boot can reduce startup time from 30-45 seconds to just 5-10 seconds.
When is it advisable to activate it and when is it not?
| Situation | Recommendation |
|---|---|
| Mini PC with NVMe SSD | ✅ Activate — maximum benefit |
| Mini PC as a server or always-on | ❌ Not necessary |
| Mini PC with dual boot (Windows + Linux) | ❌ Disabling — causes problems with GRUB |
| Mini PC for home/office use | ✅ Activate — highly recommended |
| Mini PC with mechanical HDD | ✅ Activate — noticeable difference |
Step 1: Activate Hibernation (Prerequisite)
Fast Startup requires hibernation to be enabled in Windows. On some Mini PCs, it is disabled by default. To enable it:
-
Right-click the Windows Start button
-
Select "Windows Terminal (Admin)" or "PowerShell (Admin)"
-
Type the following command and press Enter:
powercfg /hibernate on
-
Close the terminal. Hibernation is now active.
Step 2: Enable Fast Startup
Windows Fast Startup settings
Once hibernation is enabled, follow these steps:
-
Open the Control Panel (search for "Control Panel" in the Start menu)
-
Go to "System and Security"
-
Click on "Power Options"
-
In the left panel, select "Choose the behavior of the power buttons"
-
Click on "Change settings that are currently unavailable" (requires administrator permissions)
-
Check the box "Turn on fast startup (recommended)"
-
Click "Save changes"
⚠️ If you don't see the option, it's because hibernation is disabled. Go back to Step 1.
Step 3: Reduce Boot Menu Waiting Time
If your Mini PC displays the Windows boot menu for a few seconds before loading the system, you can reduce that time:
-
Press Windows + R and type
msconfig -
Go to the "Startup" tab
-
Change the "Timeout" value from 30 to 5 seconds
-
Click on "Apply" and "OK"
-
Restart when prompted.
Step 4: Disable Unnecessary Startup Programs
Although Fast Startup speeds up kernel loading, programs that start automatically can still slow down your Mini PC. To manage them:
-
Press Ctrl + Shift + Esc to open Task Manager
-
Click on "Startup applications" (left panel)
-
Check the "Startup Impact" column
-
Right-click on the programs marked as "High Impact" and select "Disable"
Programs you can safely disable:
-
Game launchers (Steam, Epic, Xbox) if you don't use them at the start
-
OneDrive (if you don't need it)
-
Spotify, Discord, Teams (you can open them manually)
-
Manufacturer software (updaters, driver assistants)
Step 5: Disable Background Apps
Windows 11 allows many apps to run in the background, consuming RAM and CPU from startup. To optimize them:
-
Go to Settings (Windows + I)
-
Select "Applications" → "Installed applications"
-
Click on the three dots next to each app → "Advanced options"
-
In "Background app permissions", select "Never"
Step 6: Adjust the Energy Plan
The power plan directly influences the boot speed and overall performance of the Mini PC:
-
Go to Control Panel → Power Options
-
Select "High performance" or "Maximum performance"
-
If you don't see "Maximum performance", open PowerShell as administrator and run:
powercfg -duplicatescheme e9a42b02-d5df-448d-aa00-03f14749eb61 -
Go back to Power Options and select the new "Maximum performance" plan.
🔋 Note for low-power Mini PCs like the Intel N100/N150: the "Balanced" plan is already efficient enough. The High Performance plan consumes slightly more power but improves system responsiveness.
Clarification Note:
e9a42b02-d5df-448d-aa00-03f14749eb61→ This is the unique identifier (GUID) for the "Maximum Performance" plan. Each plan has its own code:
-
Energy saver →
a1841308-3541-4fab-bc81-f71556f20b4a -
Balanced →
381b4222-f694-41f0-9685-ff5bb260df2e -
High performance →
8c5e7fda-e8bf-4a96-9a85-a6e23a8c635c -
Maximum performance →
e9a42b02-d5df-448d-aa00-03f14749eb61✅
Step 7 (Advanced): Enable Secure Boot and TPM 2.0 in BIOS
Windows 11 Pro takes better advantage of Fast Boot when Secure Boot and TPM 2.0 are enabled. Most modern Mini PCs come with them enabled, but if you bought a used one or one with an upgraded version of Windows 10, it's worth checking.
-
Restart your Mini PC
-
Repeatedly press F2, F7, DEL or ESC at startup to enter BIOS/UEFI (the key varies depending on the manufacturer)
-
Look for the "Secure Boot" and "TPM / PTT" options
-
Activate them if they are disabled
-
Save and restart
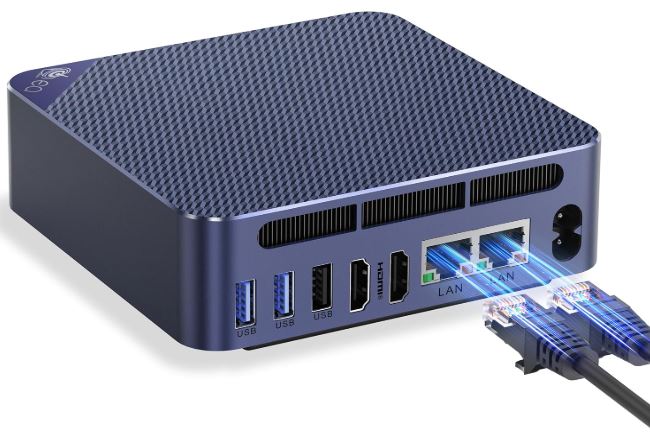
Recommended Mini PCs on AliExpress with NVMe SSD for Ultra-Fast Boot
If your Mini PC still uses an eMMC or a slow SATA SSD, the biggest performance jump will come from upgrading to a Mini PC with an NVMe PCIe SSD, which offers read speeds of 2,000-3,500 MB/s compared to 500 MB/s for a SATA SSD:
| Mini PC | Storage | Estimated Start | Link |
|---|---|---|---|
| Beelink EQ14 | 500GB NVMe PCIe | ~6 seconds | 🛒 View Prices and Availability |
| BMAX B5A Pro | 512GB NVMe | ~6-8 seconds | 🛒 View Prices and Availability |
| GMKtec G3 | 256-512GB PCIe | ~5-8 seconds | 🛒 View Prices and Availability |
| CHUWI LarkBox X | 512GB NVMe | ~8 seconds | 🛒 View Prices and Availability |
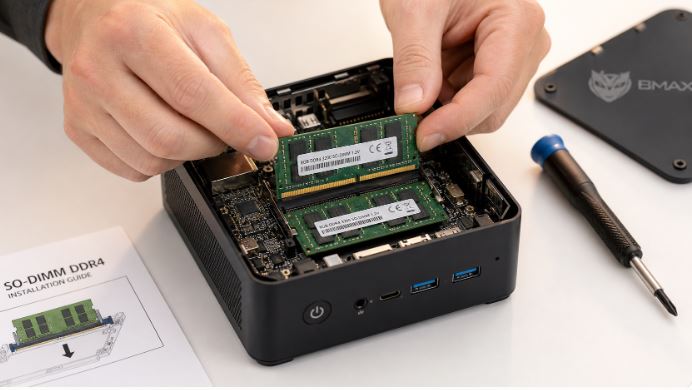
Do you want to upgrade the SSD in your current Mini PC?
If your Mini PC has an M.2 slot, you can replace the SSD yourself for very little money:
-
🔧 512GB NVMe M.2 PCIe SSD: 🛒 See Prices and Availability
-
🔧 1TB NVMe M.2 PCIe SSD: 🛒 See Prices and Availability
Solving Common Problems
❓ "Fast Startup is not listed in Power Options"
→ Hibernation is disabled. Run powercfg /hibernate on PowerShell as administrator.
❓ "My Mini PC is still taking a long time to boot even though I have Fast Startup enabled"
→ The bottleneck is the startup programs. Check the Task Manager and disable any high-impact programs.
❓ "Windows is not applying updates correctly"
→ Fast Startup may prevent certain updates from being applied. Use the "Restart" option (not "Shut down") to allow Windows to install them correctly.
❓ "I have a dual boot with Linux and it's causing problems"
→ Disable Fast Startup. This feature leaves the disks in a state that Linux cannot read correctly.
❓ "Boot time is 30 seconds or more with NVMe SSD"
→ Check the BIOS: disable POST delay, reduce the boot order to only your SSD, and verify that Secure Boot is enabled.
Summary: Quick Boot Checklist for Mini PC
Follow this checklist and your Mini PC will boot up in record time:
-
✅ Hibernation enabled (
powercfg /hibernate on) -
✅ Fast Startup enabled in Power Options
-
✅ Boot menu wait time reduced to 5 seconds
-
✅ High-impact programs disabled in Task Manager
-
✅ Background apps set to "Never"
-
✅ Power plan set to "High performance"
-
✅ Secure Boot and TPM 2.0 enabled in BIOS
-
✅ NVMe SSD as system disk